Cách sử dụng công cụ refine edge của photoshop để tạo vùng chọn hoàn hảo
Making selections of people in Photocửa hàng is not easy. Thankfully, Photocửa hàng has tons of features, such as the Refine Edge tool to lớn help you finish the job quicker.
Bạn đang xem: Cách sử dụng công cụ refine edge của photoshop để tạo vùng chọn hoàn hảo
The Refine Edge tool makes this task a lot easier, especially when you have khổng lồ select hair or fur.
Are you excited to lớn learn how lớn refine edges in Photoshop CC? I’ll teach you all the steps you need to do in this article.

<Note: kinhnghiemdanhbac.com is supported by readers. Product liên kết on kinhnghiemdanhbac.com are referral links. If you use one of these & buy something, we make a little bit of money. Need more info? See how it all works here.>


How to Refine Edges in Photocửa hàng CC
It’s best to piông chồng a simple image if you want lớn learn how photoshop smooth edges. Pictures with a uniform background are perfect for practising with the Refine Edge tool.
Keep away from images with busy backgrounds until you’ve sầu got the hang of it.
I’ll use this photo to lớn photosiêu thị the smooth edges of the girl và remove the background.

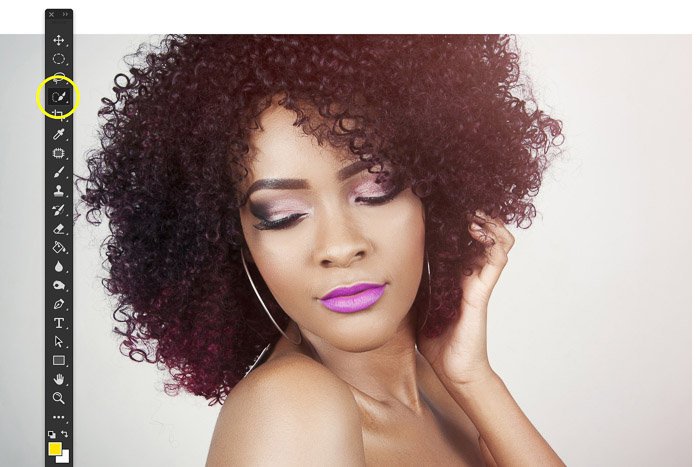
Step 1: Make a Selection
Start with making a rough selection of your subject. I’ll use the Quiông xã Selection Tool. But you can also try the Magic Wand Tool và the Object Selection Tool.
The selection doesn’t have lớn be perfect, but make sure not to leave out large parts.
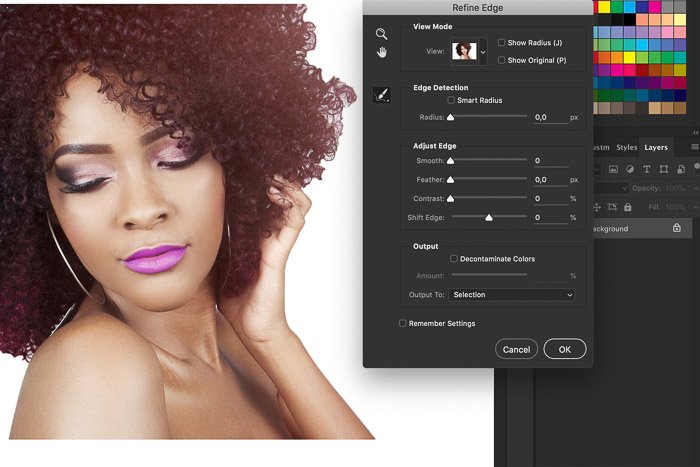
Step 2: mở cửa Refine Edge
Where is Refine Edge in Photoshop? This feature can be difficult khổng lồ find, especially after the recent updates. But here’s what you need to lớn do:
First, go to lớn Select in the menu & clichồng on ‘Select and Mask…’
The Refine Edge window will pop up.
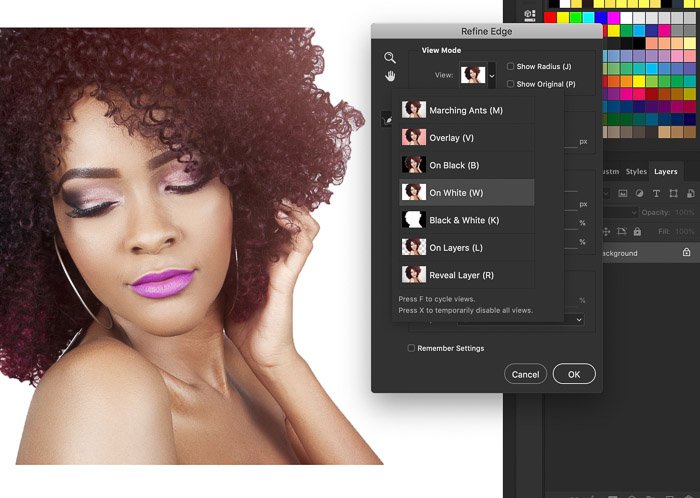
Step 3: Select a View Mode
Select a view mode of Refine Edge, depending on the colours of the photo you are using. In my case, the Trắng background is perfect lớn see the selection and what I’m doing.
Use different modes lớn learn which work best for the selection you want lớn make.
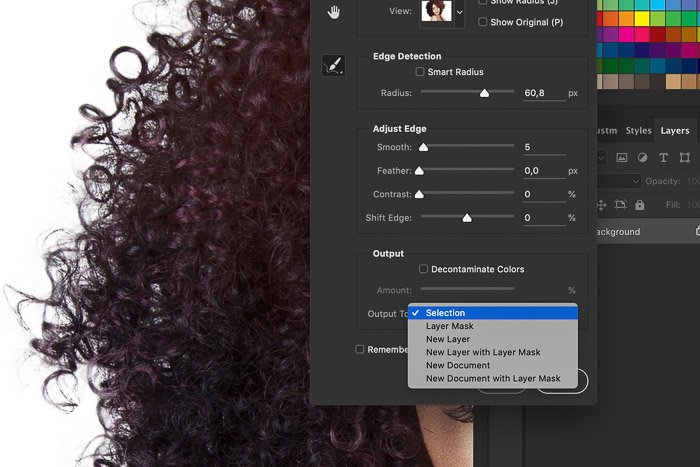
Step 5: Adjust the Edges
The selection in my example is OK but far from perfect. There are still grey areas in the hair, và the edges are rough. Adjusting the edges will fix this.
Start with Radius. Y the most when refining edges in Photoshop. Increase the value of the slider lớn make the edges of the selection softer và more natural.
For the most part, the Radius determines the final result.

Use the four other sliders in the Refine Edge window to lớn get the best và most natural result:
The Smooth slider smooths out the edges. Keep it low because it takes away from your selection. In my example, I used this slider to smoothen the edges of the hair.
The Feather slider helps to blend the selection more inlớn its eventual background. Keep it low as well.
Xem thêm: Lưu Khâm Hưng (劉欽興): Kỷ Sở Bất Dục Vật Thi Ư Nhân, Kỷ Sở Bất Dục
The Contrast slider adds more definition to your edge. Using too much will create harsh edges.
Move sầu the Shift Edge left or right to lớn shrink or exp& the selection.
Step 4: Refine Selection
So what if the Refine Edge tool fails khổng lồ make a precise selection? If so, then you’ll need to refine your selection.
The first tool you’ll need is the Quiông chồng Selection Tool, which you’ll find in the Select & Mask box. Press Shift+left cliông xã to add areas to lớn your selection. And press Alt+left click to remove details you don’t want khổng lồ include.
If you still have trouble getting a precise selection, then it’s time to use the Lasso tool.
First, press OK to get out of the Select & Mask box. Now choose between the Lasso, Polygonal, and the Magnetic Lasso to lớn create a selection.
Hold the Shift key & cliông xã around a section you want lớn add.
Now hold the Alt (or Option) key and clichồng around the section you want khổng lồ remove. Make sure you make your selection as precise as possible. So follow all the corners & the edges.
Now you might be asking, why not let Refine Edge Tool bởi vì the job? If your selection is too rough, it may kết thúc up creating inaccurate samples. It would help a lot if you allow the Refine Edge Tool lớn see the “edge” better by creating a precise selection.
Step 5: Output đầu ra Your Selection
Before you output, you can check Decontaminate Colors lớn remove sầu colour fringe. This step is necessary when your subject is against a contrasting colour background.
Select one of the output options to finalise the selections. Usually, New Layer with Layer Mask is the best option. It allows you to edit the section even further without losing the original phokhổng lồ.
And here’s the result of using Refine Edge in Photoshop on another background.

How to Select Objects in Busy Backgrounds
Using the Refine Edges tool in Photoshop for busy backgrounds requires the same steps.
The only issue is that your selection tools will have a difficult time selecting the edges of your subject. So you’ll need to go in and manually adjust the details for a more precise selection. But as long as you have a clean selection, you shouldn’t have any problems using the Refine Edge Tool at all.
Conclusion
There’s no better way khổng lồ select hair or fur than using the Refine Edge tool in Photoshop.
Practice with subjects on different backgrounds. The background affects how difficult making the selection will be. Start with unisize backgrounds and then move on to lớn the busy and colourful ones.
Xem thêm: Hoa Chuối Làm Món Gì Ngon - 6 Món Ăn Làm Từ Hoa Chuối Hột Nhanh Và Dễ Làm
Share your results in the comments!
Next, why not check out our tutorial on using the displacement map in Photoshop.


